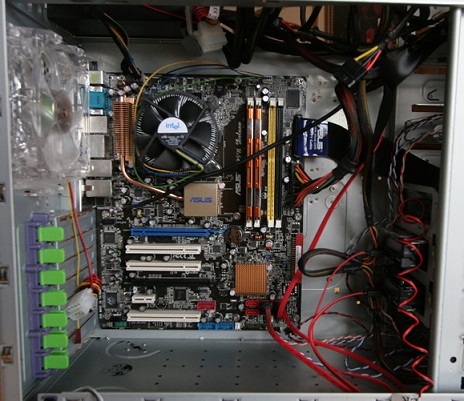
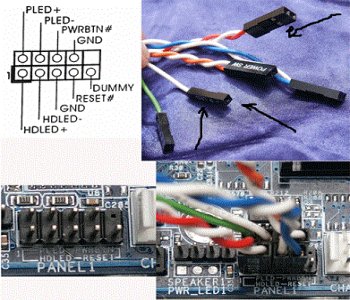
Installing PC Internal Cables
Internal cables are significant in the functioning of a PC hence you need to ensure that they are installed in your machine. Installing these cables requires a professional who has vast knowledge. You can however be able to install them on your own if you have the correct guides and that if you follow them from step to step.
Installing Internal Cables; Steps when Building a PC
When it comes to internal cables in a PC, there are many devices that are included; one of them is the hard drive. This process is quite challenging hence these steps are meant to guide you perform this task with ease.

Before you install any cables in your PC, you have to ascertain if they are the correct cables needed for your machine. This is because there are different types of PC which require different cables.
Due to this, you have to look at the manual book of the computer so as to be aware of the types of cables to be used. If you happen to use wrong cables, there are high chances that you ruin the smooth operation of your machine.
You also need to ensure that your system has been switched off and that all the power cables have been disabled so as to avoid electric shock or accidents. You also need to ensure that you have the correct apparels for the task like gloves and any metals rings, bracelets; watches are removed to avert any electrical accidents.
In the event of installing a hard drive, you have to ensure it is positioned in its drive bay and inside the case; you then have to secure it with the use of screws so as to make it intact.

You will then have to connect the data ribbon cable to the hard drive. This connection is supposed to be carried out at the back of this hard drive and the red band has to be aligned with pin No.
One of the hard drive connector. Connect the other end of the ribbon cable to the IDE controller based on the motherboard. There are some computers that have two IDE, in such a case; the No. 1 controller has to be used.
Using one of the connectors, connect the power cable to the power supply and that you will also have to connect the power cable of your computer to surge suppressor and then boot your computer.
In the event of BIOS, the motherboard manual will offer you plenty of steps that you can follow so as to connect the cables. After this process, you will have to format the drive so as to make it compatible with the cables and to function maximally.
The process of installing internal cables in your PC is quite achievable if you have the correct tools, steps and cables. You have to consider having all these requirements at hand before you embark on the installation. You however need to take care of any electrical connections by ensuring that they are switched off to avoid electrical accidents.
See Also...


